The first step to add webhooks to your Verkada integration is to build your own custom endpoint. Creating a webhook endpoint on your server is no different from creating any page on your website.
TipIf you need to generate a test URL you can do this using RequestBin or Mockbin.
Key considerations
For each event occurrence, Verkada POSTs the webhook data to your endpoint in JSON format. The full event details are included and can be used directly after parsing the JSON into an Event object. Thus, at minimum, the webhook endpoint needs to expect data through a POST request and confirm the successful receipt of that data.
Return a 2xx status code quickly
To acknowledge receipt of an event, your endpoint must return a 2xx HTTP status code to Verkada. If Verkada does not receive a 2xx HTTP status code, the webhook notification attempt is repeated immediately.
Because properly acknowledging receipt of the webhook notification is so important, your endpoint should return a 2xx HTTP status code prior to any complex logic that could cause a timeout.
TimeoutYour endpoint have 2 seconds to respond to a notification. If your endpoint don't send a response inside that time, the notification is treated as failed and will be retried only once.
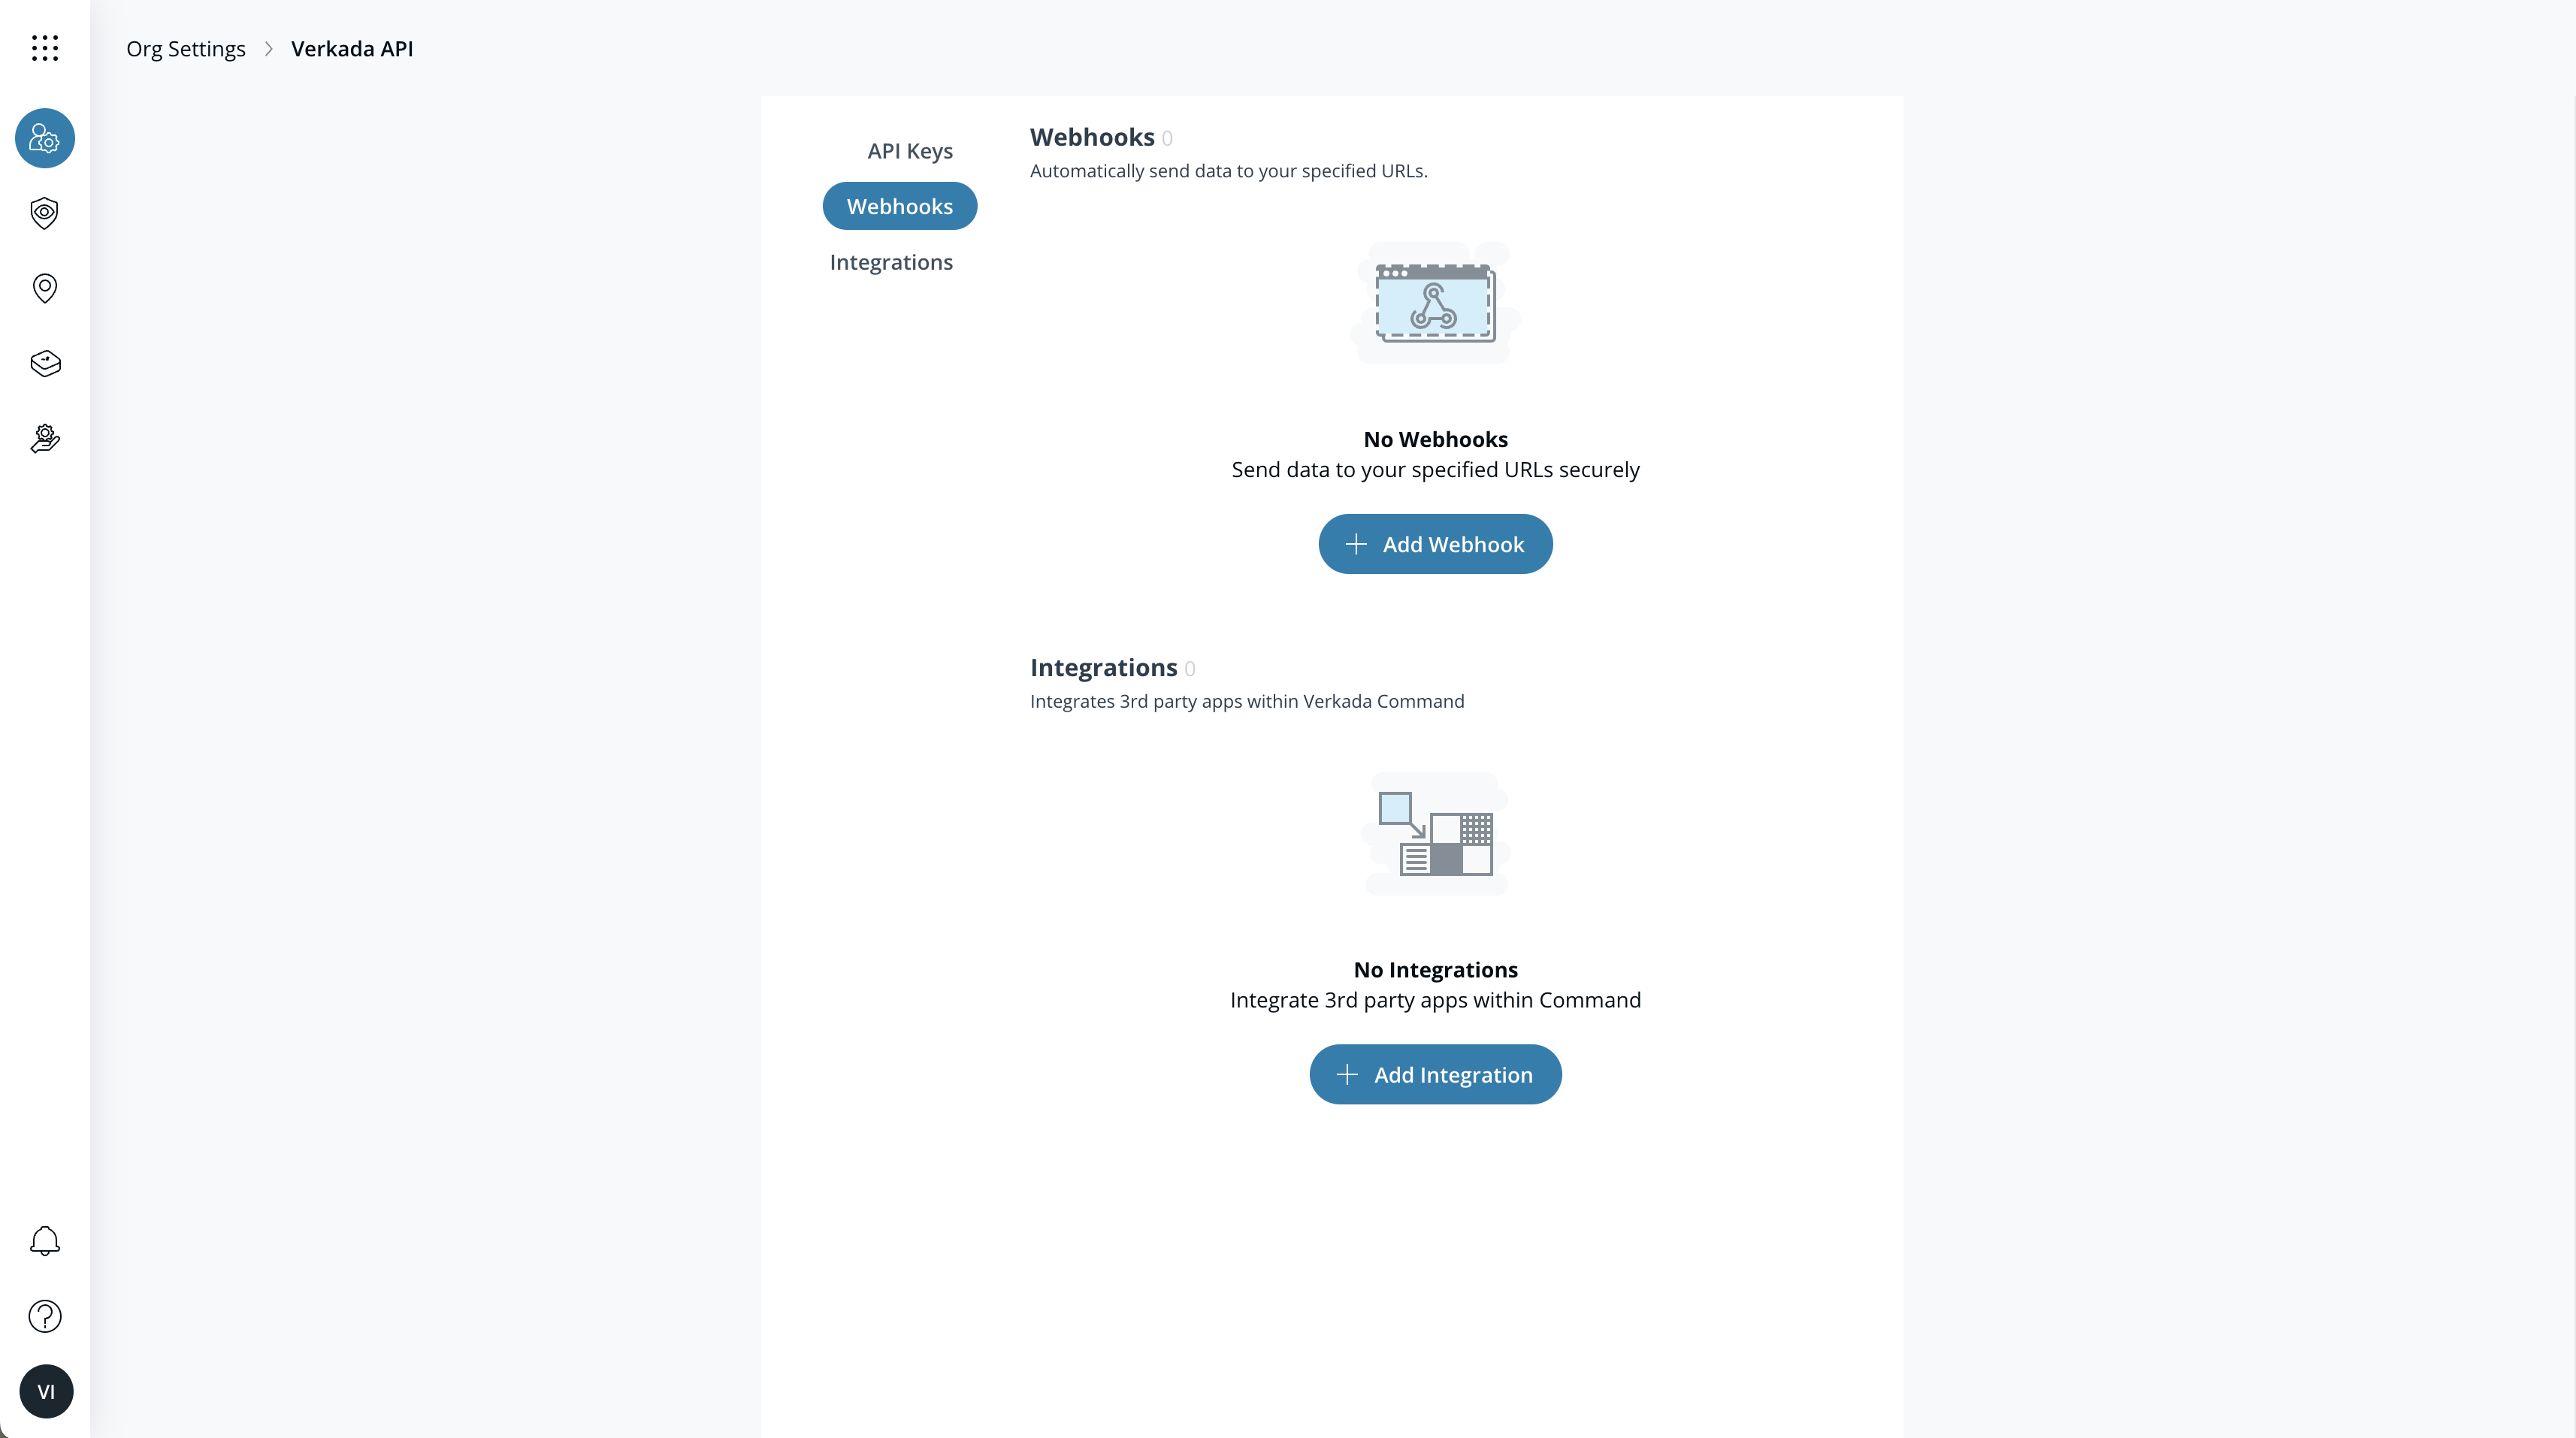
Adding your webhook URL to Command
To add a new webhook URL to Command (Organization Admin only), navigate to the Verkada API tab under the Organization Settings page and click the '+ New Webhook'.
This will prompt users to name their Command Webhook setup, as well as directly provide the URL and shared secret. By default, all Command Webhooks will have full scope access. Users can refine the webhook's scope by limiting the data pushed to their defined URL to specific events relevant to their application. In the example below, a user is configuring their webhook specifically for license plate recognition events.
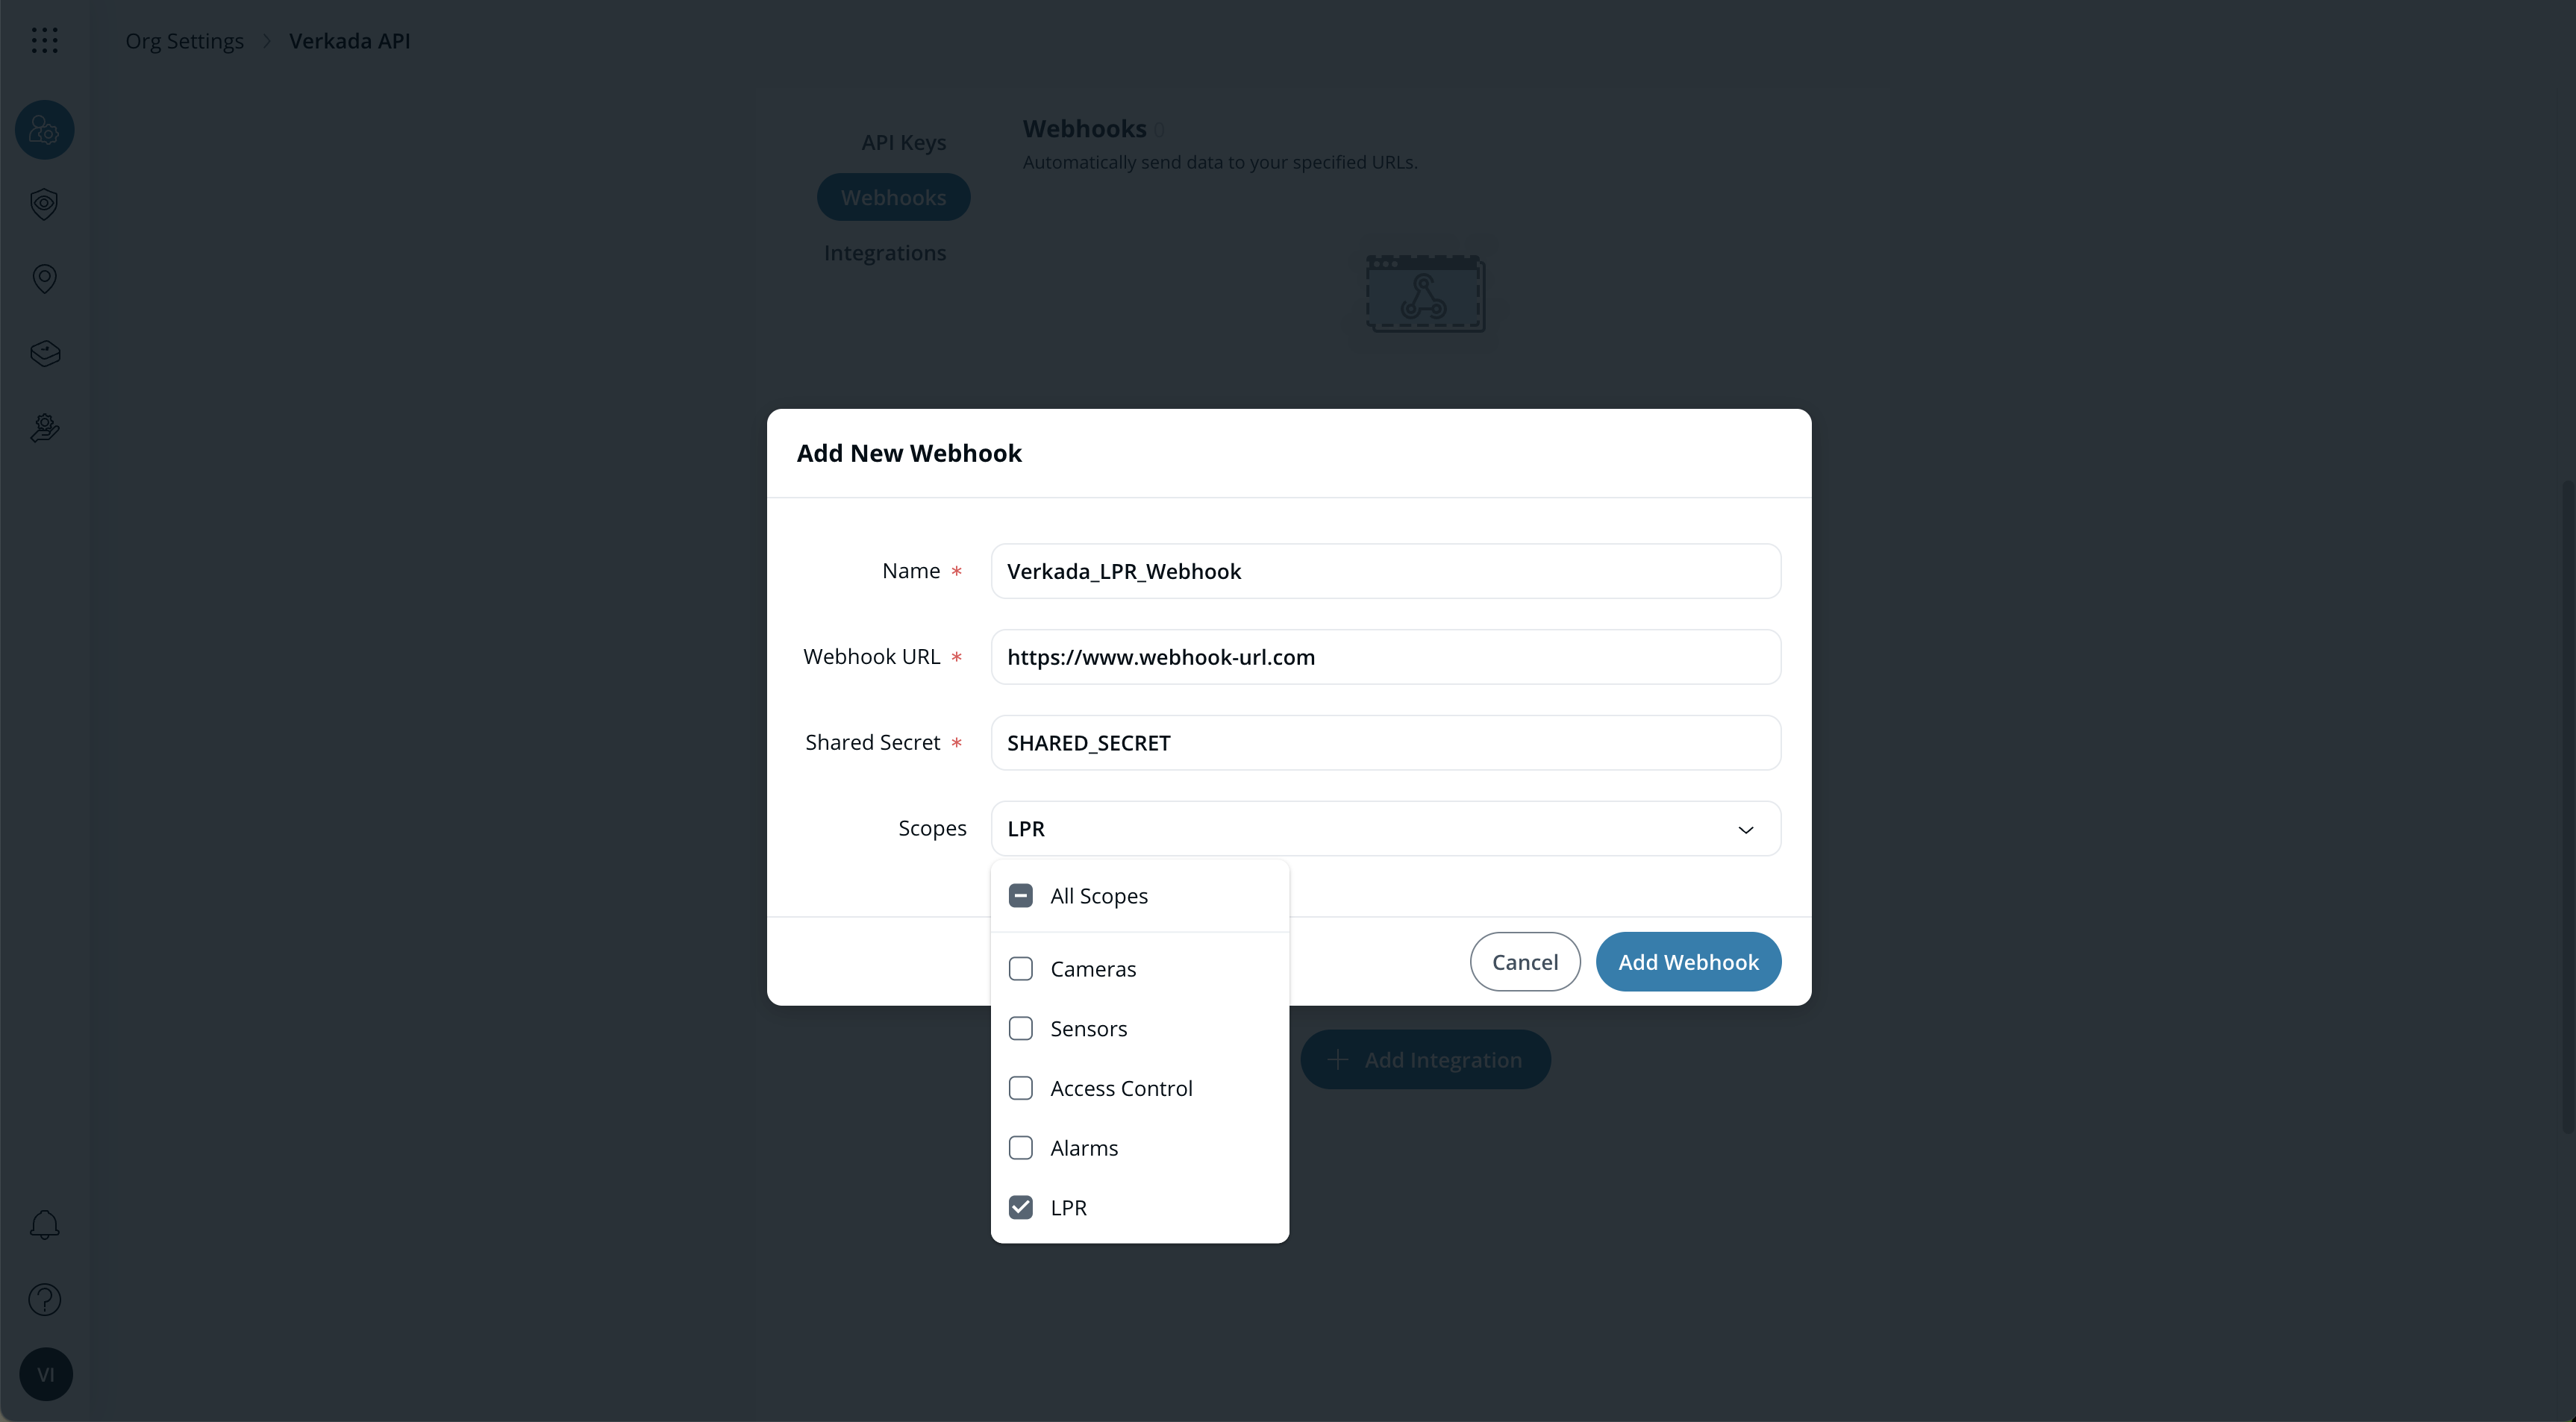
After entering all required information and defining your webhook's scope, users will be able to see their saved setup under the general Verkada API settings page, under "Webhooks". All relevant data will immediately start getting pushed to the saved URL for additional analysis and/or processing.